Appearance
Switch vendors
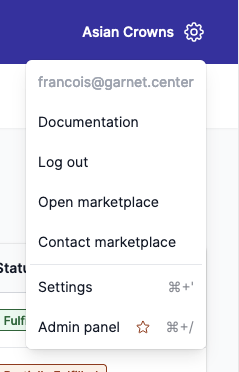
As an admin, you can switch vendors to see their data, change settings (like commission), or approve products. You can open the Switch vendors view from the drop-down menu:
Shortcuts
Open this view ⌘ + / (MacOS) or Ctrl + / (Windows).
Marketplace view
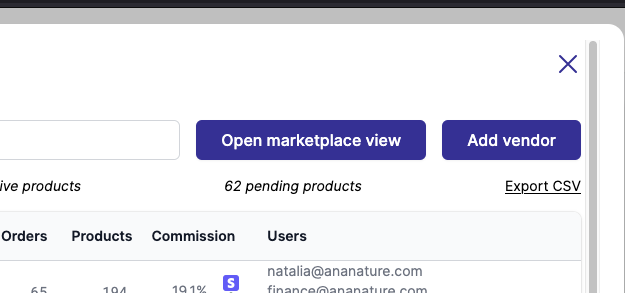
To see all products, orders, finance from all vendor combined, click on the Open Marketplace View next to the search bar.
On the Marketplace view, products, orders, and finance lines will have an additional column vendor to refer to the vendor name.
As an administrator, you can now execute operations in bulk such as approving products, send a payout, or even create a discount for all vendors.
Admin panel
As an admin, you can switch vendors to see their data, change settings (like commission), or approve products.
Let's see what we have here.
Access documentation
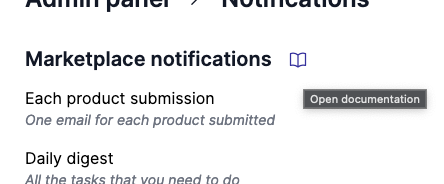
When browsing the features in the Admin Panel, you can click the book icon to access the documentation in a new tab.
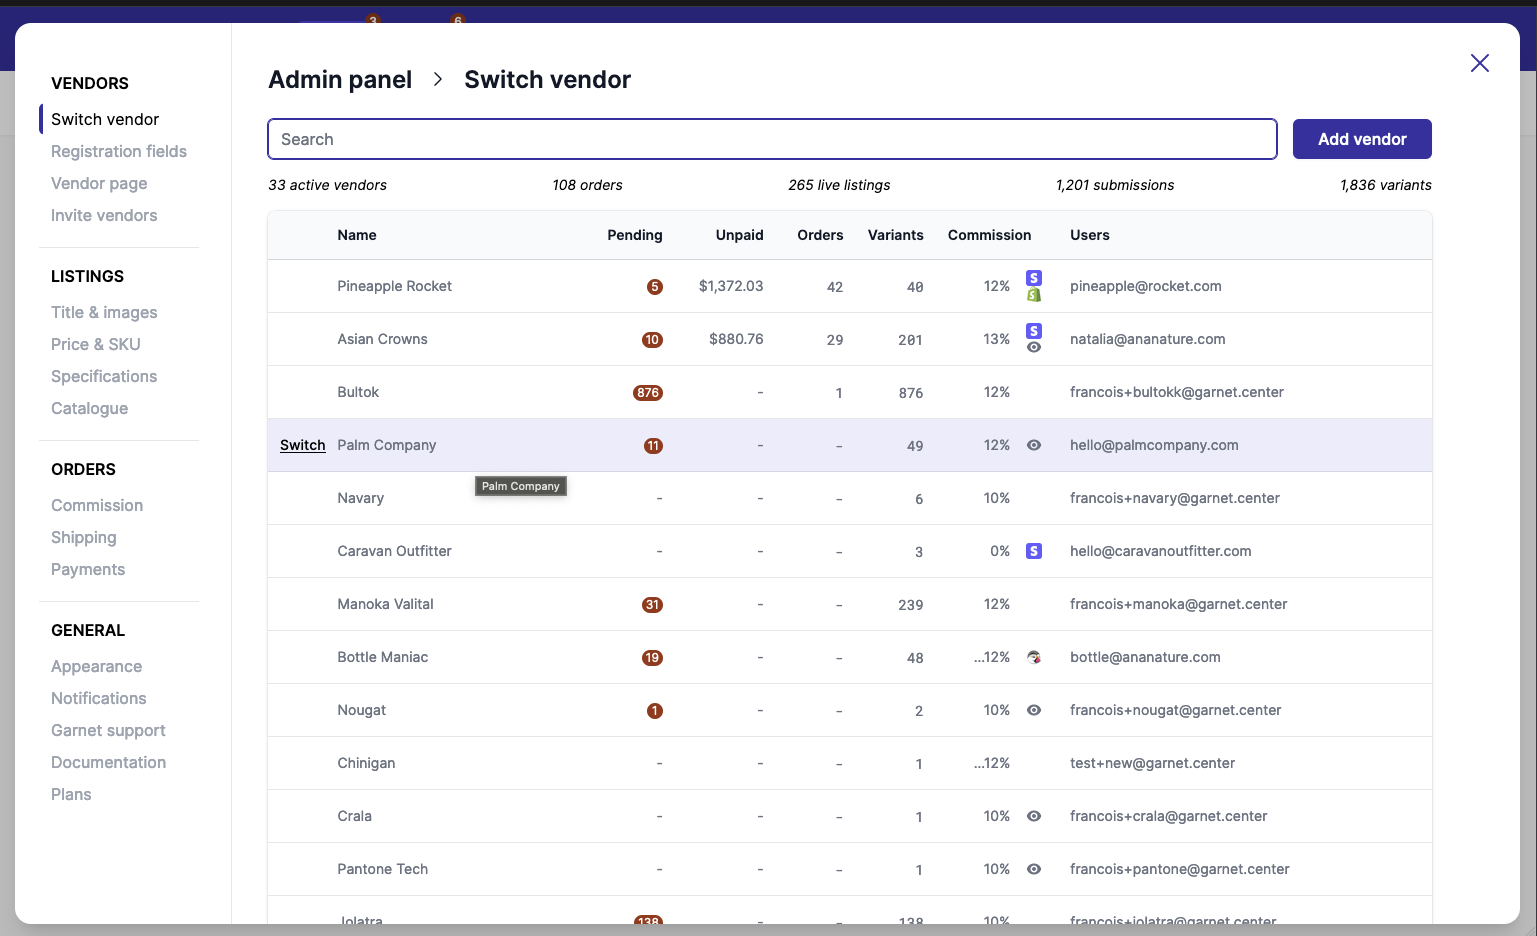
List of vendors
All vendors that are displayed can come from different sources.
- Vendors registered users in Garnet. You can see these vendors annotated with a
@symbol. If you hover on it you can even see the vendor's email! - Vendor assigned to products that were created in Shopify by the marketplace. You can find existing products assigned to a vendor in this list. If you want to assign products created on Shopify to a vendor, rename the product's
vendorin Shopify to the name of the new vendor. - Vendors are assigned to past orders. Even though the vendor might not be operating anymore, their vendor view is kept for reference.
- Vendors who have an active integration, such as Shopify or WooCommerce integrations.
Vendors are sorted by the number of orders, then by the number of products. So the vendor that contributes the most is on top of the list.
Vendor CSV export
Vendors can be exported to a CSV file. The CSV contains all the data present in the Switch Vendor view, including the amount paid and unpaid.
Order the vendor list
You can click the header of the list to sort the data available to your needs. For example, click Unpaid to view the highest unpaid amounts.
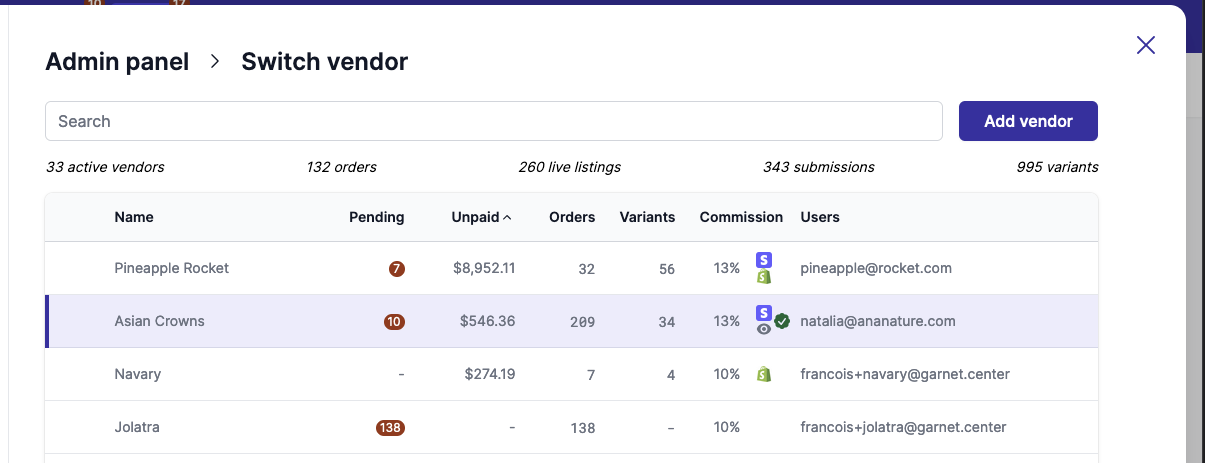
Unpaid amount
This column represent the unpaid amount in the Finance view. You can use this view to pay all your vendors manually.
Annotations, count, and commission
- A small orange dot is next to the vendor you are logged as.
- The order count is the order count assigned to the vendor. Including unfulfilled, cancelled, refunded, and fulfilled.
- The product count is the count of all products and product variants disregarding their stock and approval process status.
- The
@is annotated on vendors that are accessible to a user. You can hover it to reveal the email address. - The last percentage at the end is the specific commission of the vendor. Admin can change it by going to
Garnet > Settings > Commission.
Default commission
Default commission assigned to new vendors that register to Garnet using the sign-up form.